

|
After successful installation of the MiScout Desk on your computer you may run it. To do this, press the Start icon in the left bottom corner of the screen. Afterwards, select Programs->Mita-Teknik->MiScout Desk and eventually choose MiScout Desk from the list. As a result, MiScout Desk will be launched making the following screen appear on the screen.
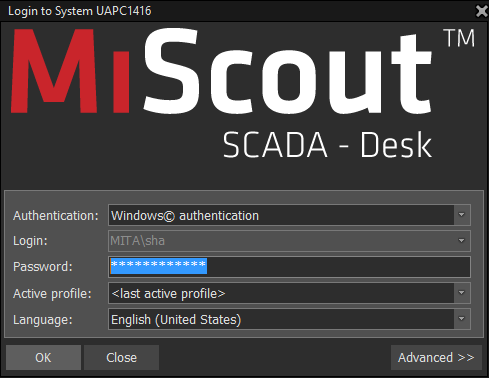
In the screen above you can log in to MiScout using MiScoutTM authentication or Windows© authentication by selecting proper options in the following property fields:
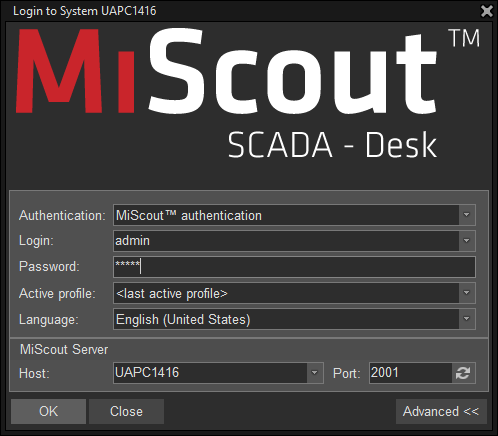
On pressing the Advanced >> button, the dialog section called MiScout Server will become visible. Using the property fields of this dialog section you can login remotely to another MiScout Sever. To be able to connect to a remote server, enter proper values in the corresponding property fields:
On finishing configuration of all property fields, press the OK button in the dialog.
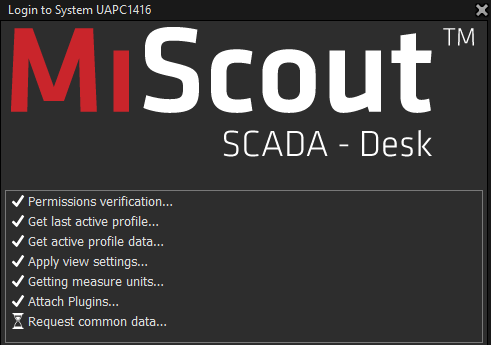
If MiScout Desk launching is started, you'll be able to view the following window on the main screen.
The application window of MiScout Desk consists of the five main parts: Quick Access Toolbar, Ribbon, Controller View and Main Monitoring area with Tabs Bar.
The Quick Access Toolbar can be found at the left top corner of the MiScout Desk main window and it is presented as follows:

In short, with the help of Quick Access Toolbar a user can perform the following actions:
So, if required, a user can quickly apply or withdraw changes made by clicking the  Commit Changes icon or the
  Rollback Changes icon correspondingly.
Furthermore, clicking the ![]() downward-arrow icon next to the
downward-arrow icon next to the  Commit Changes icon, you can easily reach the context menu listing all recently changed functionalities in MiScout Desk.
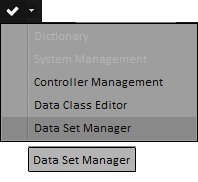
Keep in mind, after clicking the  Commit Changes icon, you will activate simultaneous saving of changes in all windows on the list.
Likewise, clicking the ![]() downward-arrow icon next to the
downward-arrow icon next to the  Rollback Changes icon, you can easily reach the context menu listing all MiScout Desk functionalities with some changes.
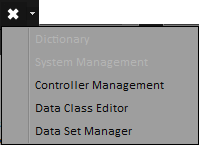
Therefore, click the  Rollback Changes icon for simultaneous canceling of all recent changes in the listed functionality windows.
The whole Quick Access Toolbar can be customized. Clicking the ![]() More Buttons icon reveals the Customize Quick Access Toolbar dialog allowing you to choose the required options. Names of all the options correspond to the purposes for which they are used.
More Buttons icon reveals the Customize Quick Access Toolbar dialog allowing you to choose the required options. Names of all the options correspond to the purposes for which they are used.
If the option is selected, it is marked by a tick: for example,  . As a result, the selected option appears in the Quick Access Toolbar menu.
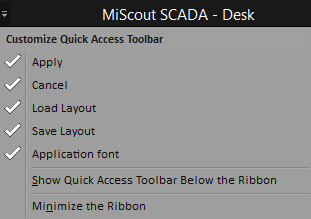
However, if the option hasn't been selected; it is not marked by a tick (e.g. Minimize the Ribbon, etc.).
Tabs residing on the Miscout SCADA Desk main ribbon can be added or removed as separate plug-ins with the help of the Plugin Configuration dialog. Therefore, follow the steps bellow to upload or remove the required plug-ins.
1. To open the Plugin Configuration dialog, click  in the left top corner of the main window.
2. Afterwards, to reach the Plugin Configuration window, click the Plugin Configuration icon:

As a result, the Plugin Configuration dialog appears on the main screen.
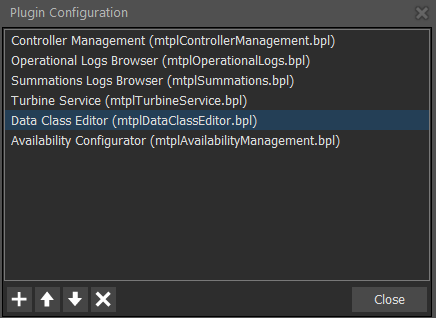
As you can see, by default, all active plug-ins are already listed in the Plugin Configuration dialog, stating the plug-in filename in brackets.
Note. The list of available plug-ins depends on User rights which are configured on the server side.
3. If the required plug-in is not on the list, you can easily add it by clicking  found at the bottom of the Plugin Configuration dialog.
4. Afterwards, browse for the *.bpl file of the required plug-in on the revealed list. User can select the required *.bpl file (e.g. called mtplAvailabilityManagement.bpl) by clicking it.
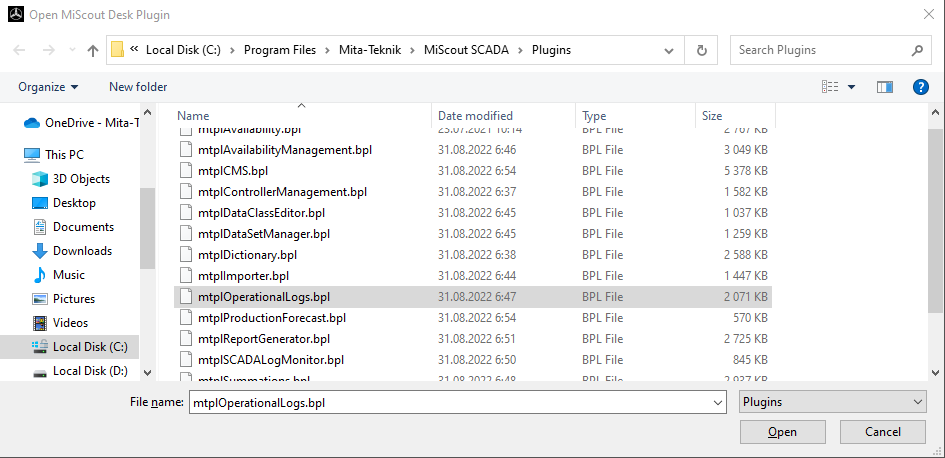
5. To proceed, press the Open button. If done successfully, the corresponding plug-in (in our case, it's Availability Configurator (mtplAvailabilityManagement.bpl) will be listed in the Plugin Configuration dialog.
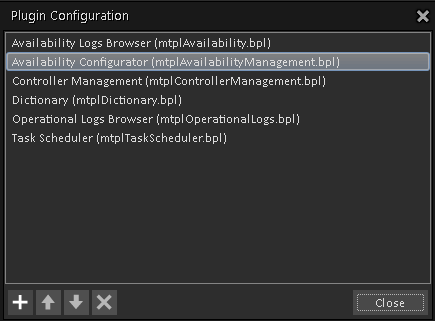
Also, the corresponding Availability Configurator tab will appear on the main application ribbon.
6. To remove a selected plug-in, simply select it in the the Plugin Configuration dialog and click  .
.
Selecting any of the listed plug-ins, activates the buttons allowing to move the plug-in upwards and downwards in the list by clicking the corresponding icons -  or
or  .
.
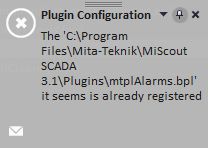
Furthermore, if a user tries to upload the plug-in already available in the application, the following dialog reading the following message appears:
Please keep in mind, that the changed plug-ins order will be applied right after restarting MiScout Desk. All enabled plug-ins will appear as tabs on the main application ribbon. Double-clicking the tab makes the functionality main window and toolbar appear within the Main Monitoring Area. All available tabs are dockable and can be moved, resized and pulled out as separate windows. This is extremely useful, as a user can locate various tabs on several monitors enjoying convenient data monitoring. Furthermore, a user is free to hide some of the tabs to extend the main monitoring area.
The list of available plug-ins depends on User rights which are configured on the server side. Bellow you can see the list of active plug-ins with the plug-in filename stated in brackets.